
Business plan
Add a custom domain
Connect your own domain — like share.yourcompany.com — so links and MicroSites can go out under it instead of the default sendnow.link address.
1
Open Custom Domains
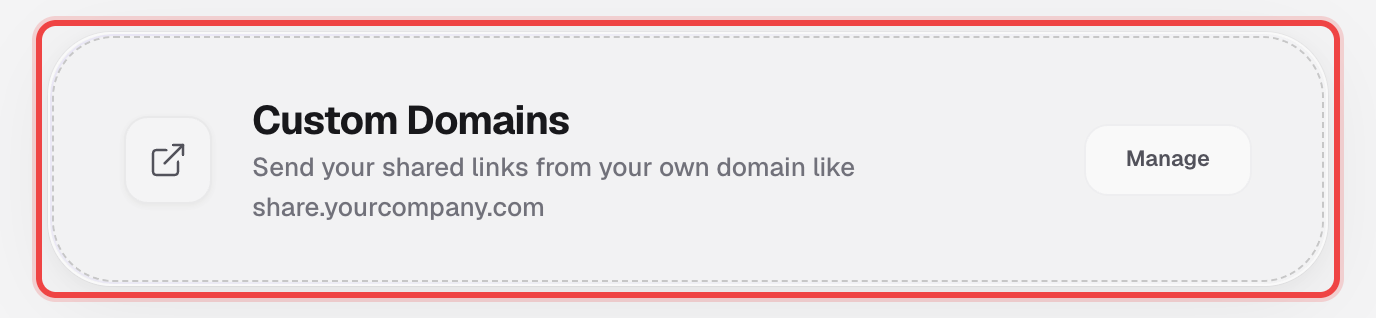
Go to Settings → Integrations, find the Custom Domains card, and click Manage.
2
Enter your domain
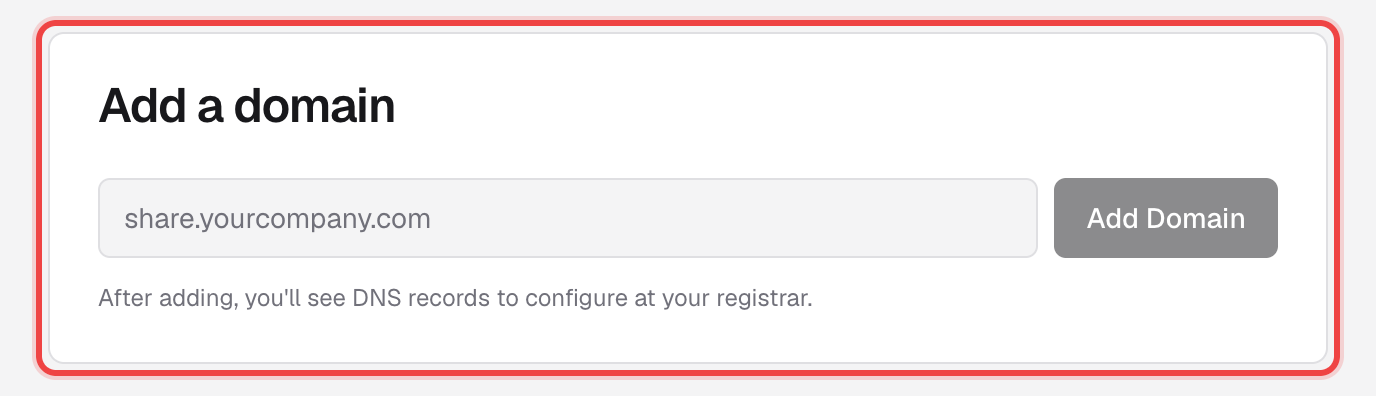
Type the domain or subdomain you want to use — for example share.yourcompany.com — and click Add Domain.
3
Add the DNS records it gives you
SendNow generates a verification TXT record plus a routing record for you to add at your registrar — see Verifying a domain via DNS for what each record means and what happens next.
Good to know
- Root/apex domains (like yourcompany.com) get an A record; subdomains (like share.yourcompany.com) get a CNAME — DNS does not allow both types on the same name.
- Once verified, the domain is available to every link and MicroSite on your account. You still choose which links use it, per link, when you create or edit them.
- Business plan only. On other plans, "Manage" is replaced with an Upgrade button.