
Set your webhook destination URL
Webhooks live at the account level, not on the link. Add a destination here once — a link's own "Webhook Integration" toggle can then narrow which of its events forward to it, but does nothing without this step.
Go to Settings → Integrations
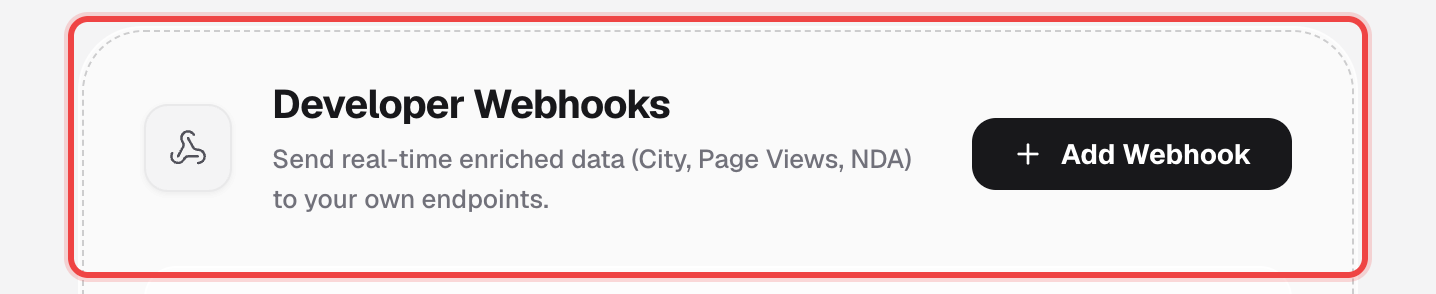
Find the "Developer Webhooks" card.
Click "Add Webhook"
This is the only place a webhook destination gets created.
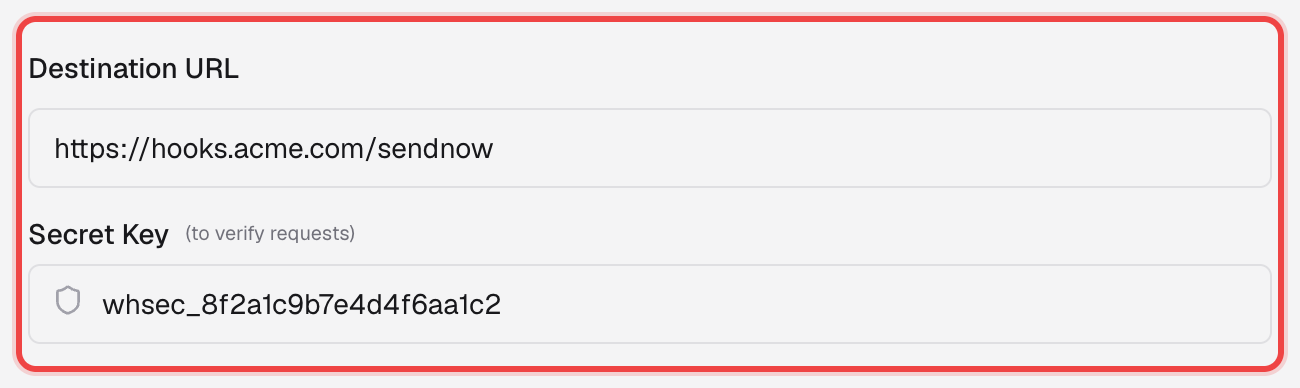
Enter your destination URL
A signing secret is generated for you automatically — your endpoint can use it to verify a request really came from SendNow.
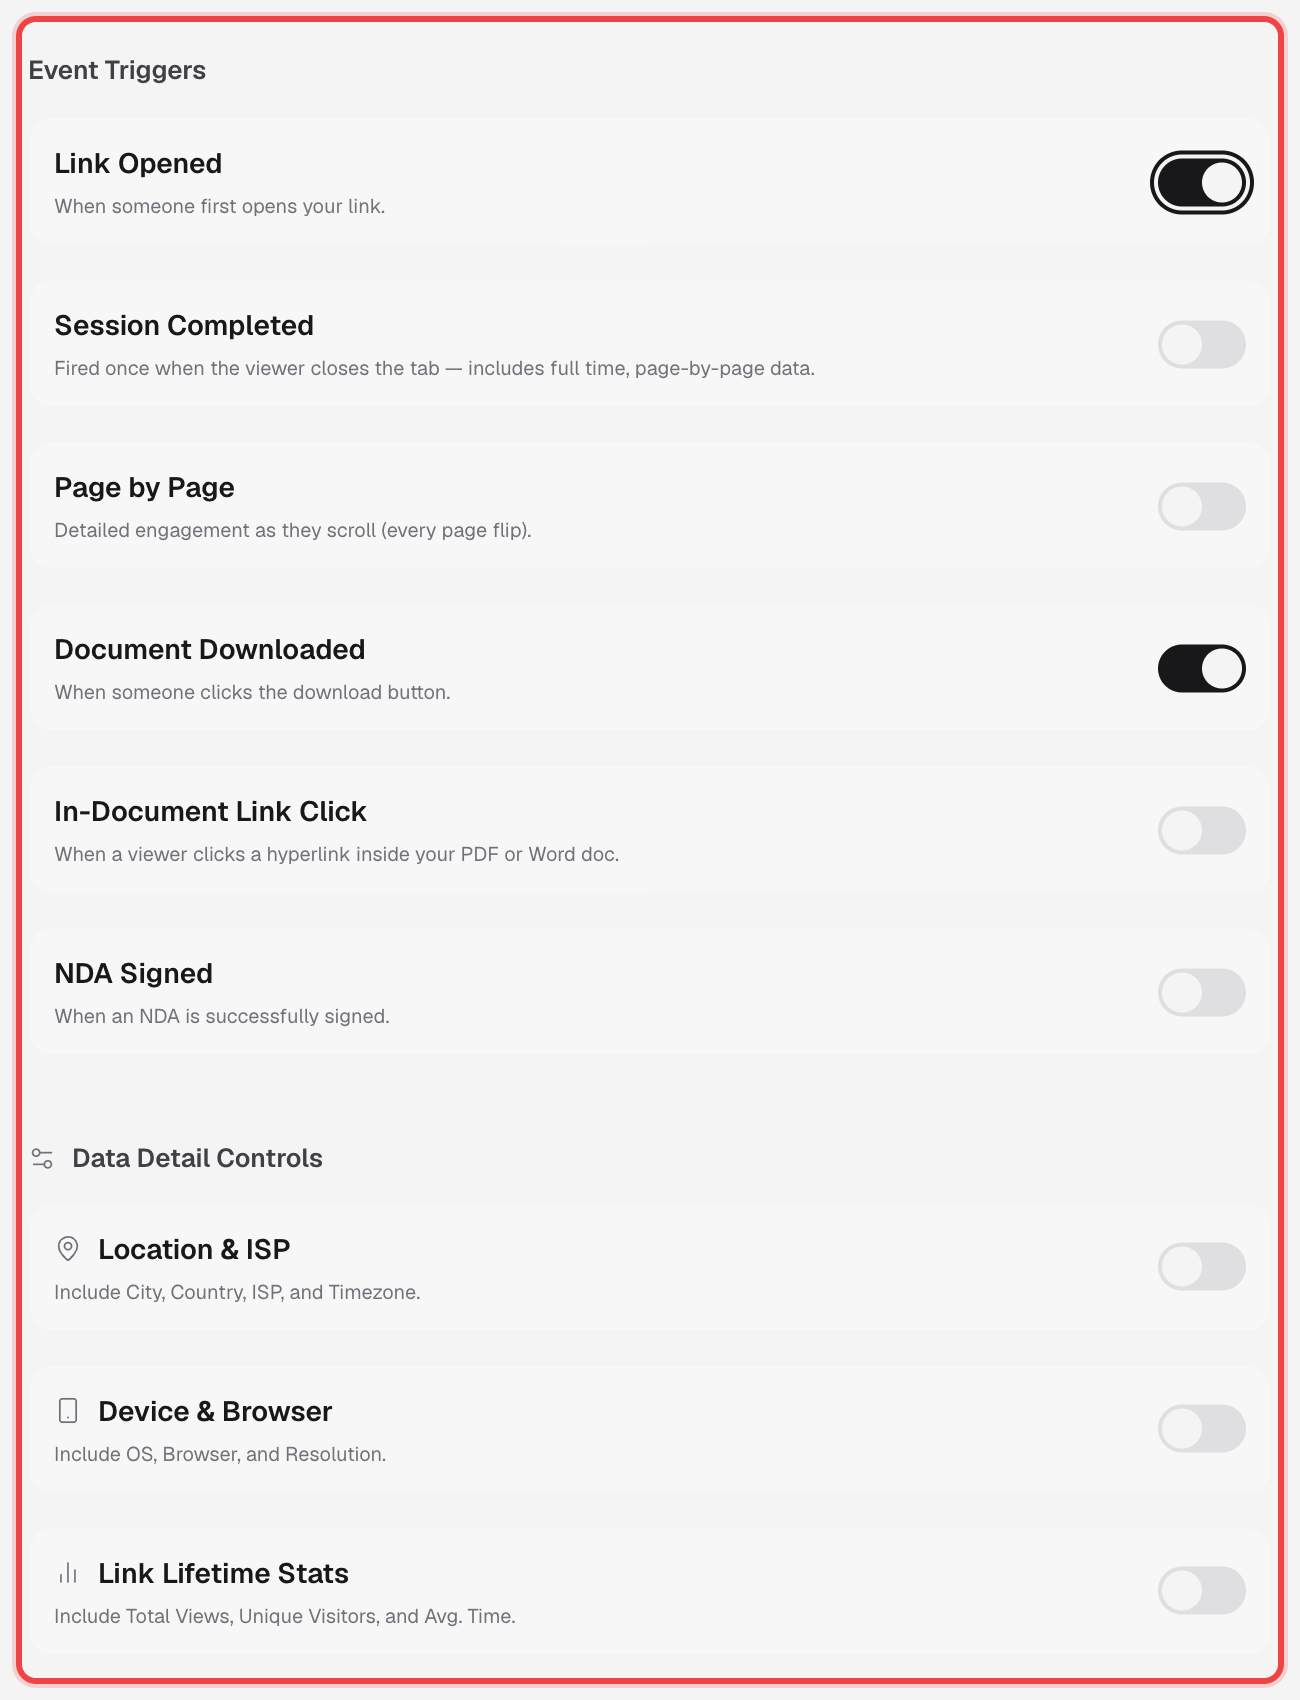
Choose which events to send
Turn on only the events you want, then optionally include extra detail — location, device, or lifetime stats — under Data Detail Controls.
Save
The webhook now appears as its own row, with its URL, its events, and a switch to pause it without deleting it.

Good to know
- This is the only place a webhook destination URL exists. A link's own "Webhook Integration" toggle doesn't send anything by itself — it only narrows which of THIS webhook's events fire for that one link. Set the destination up here first.
- Add more than one webhook to send different events to different URLs.
- Turn a webhook's switch off to pause it without losing its URL, secret, or event selection.
- Available on the Business plan.