
Watermark your documents
Two kinds of watermark: a static logo you upload, and a dynamic one that stamps each viewer's own email and the date onto every page.
Open your link's settings
Go to your document, then click Create Link (or edit an existing link).
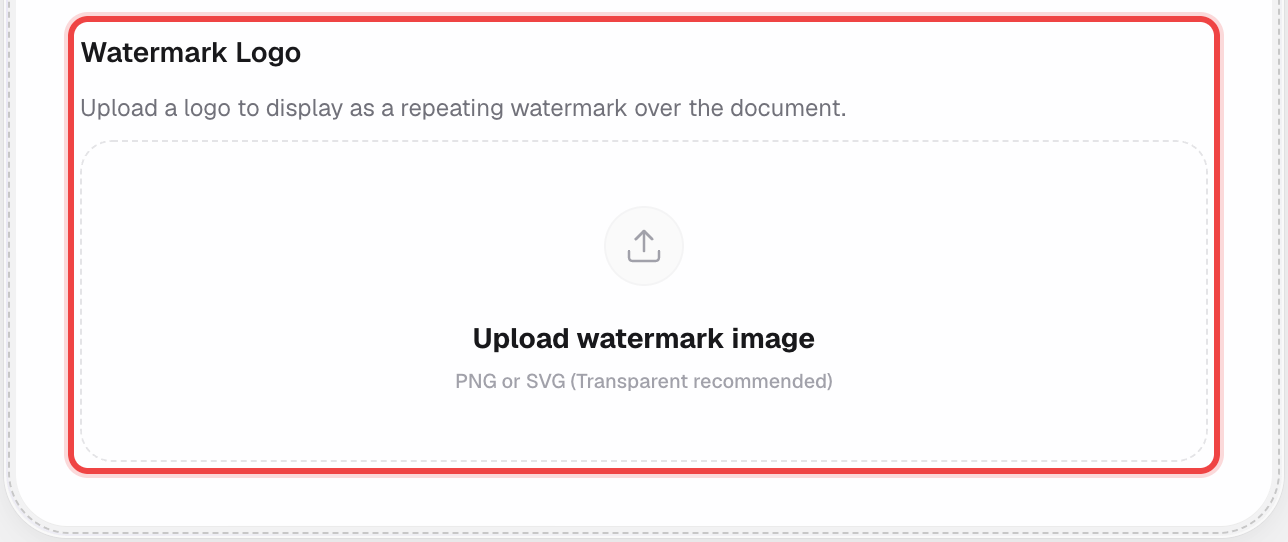
Static logo — upload it under "Watermark Logo"
In the Branding & Watermark card, drop in a PNG or SVG. It repeats across every page as a light overlay.
Dynamic watermark — turn on "Dynamic Watermark"
This stamps the viewer's own email, date, and time onto every page instead of a fixed logo — so a leaked screenshot is traceable back to whoever opened it.

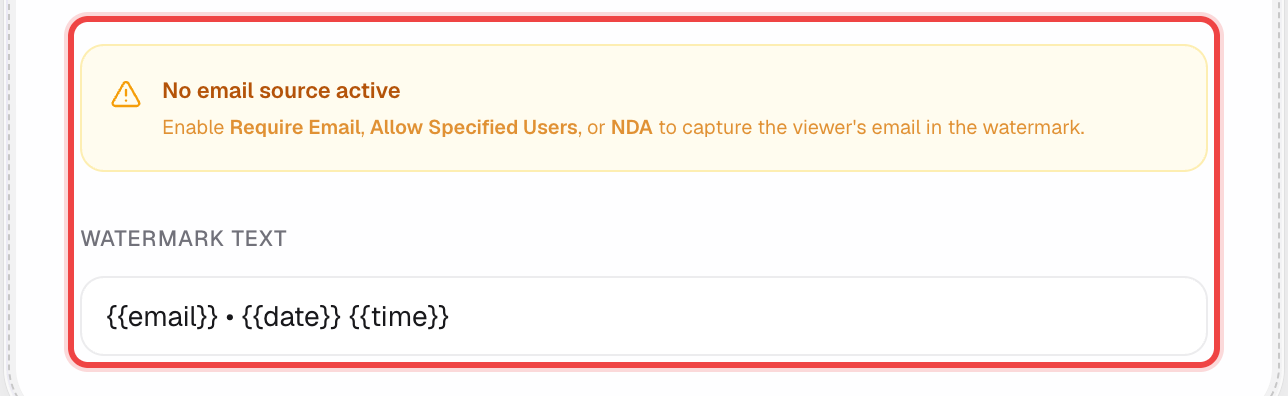
Set the watermark text
A template field appears with {{email}} • {{date}} {{time}} by default — edit it if you want, or leave it as is.
Save your link
Click Create Link (or Save) at the bottom of the page like normal.
Good to know
- The dynamic watermark needs an email to stamp — turn on Require Email to View, Allow Specified Users, or the NDA gate alongside it, or you'll see a warning and no email will appear.
- The watermark is applied at view time in the browser — a downloaded copy of the file won't carry it unless you also disable Allow Download.
- You can use the static logo and the dynamic text watermark together.
- Available on Pro (static logo) and Business (dynamic watermark) plans.