
Everyone
Brand your MicroSite
Set a logo, title, description, call-to-action buttons, and a background — all inside the same builder you use to add content.
1
Set your logo, title, and description
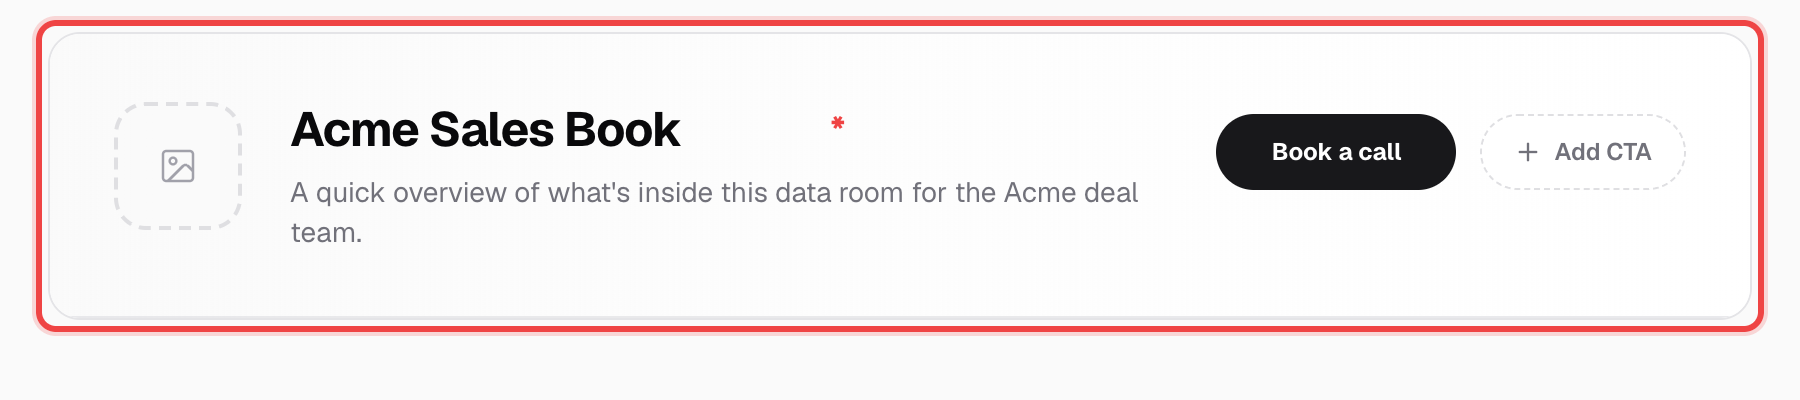
Click the dashed square left of the title to upload a logo. Click the bold title to rename it, and add a one-line description underneath — both appear on the live MicroSite exactly as shown here.
2
Style your call-to-action buttons
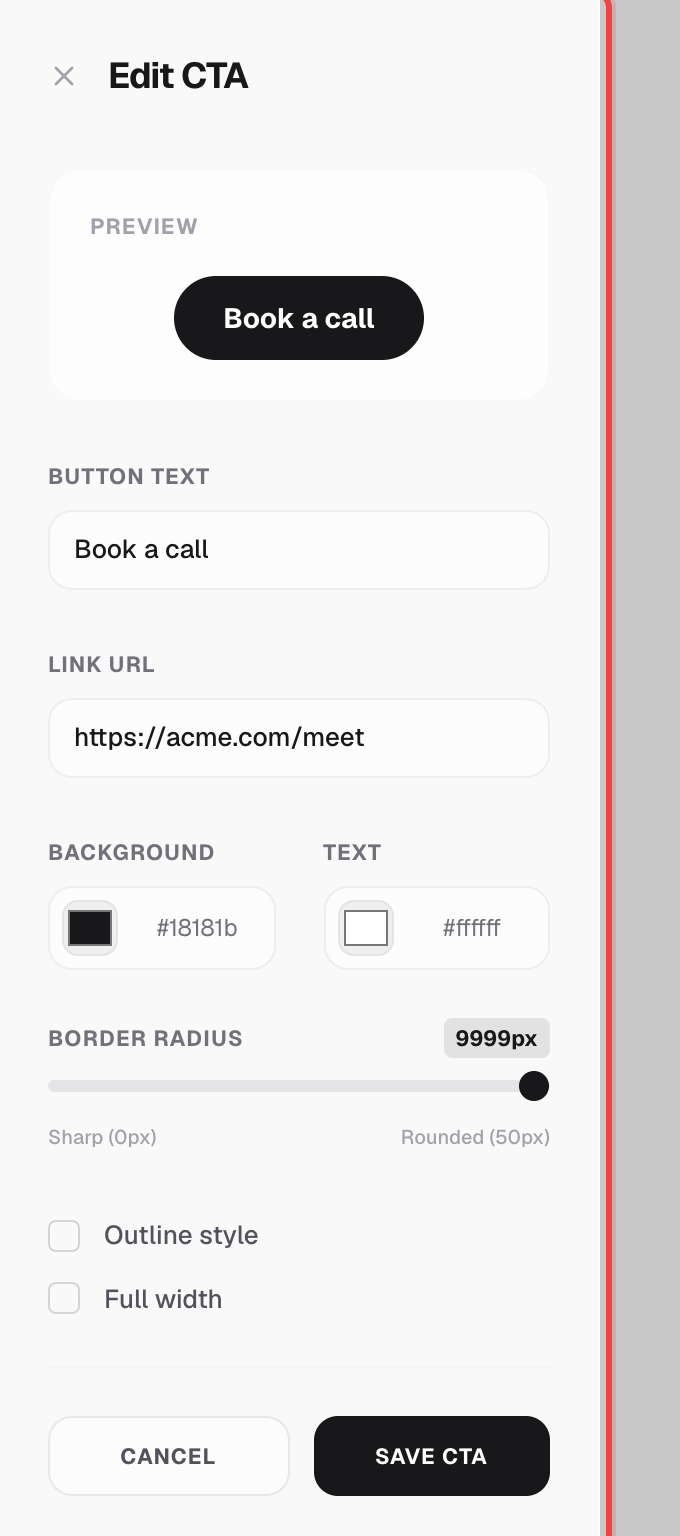
Click a CTA button (or Add CTA — up to 2) to open its settings: button text, link URL, background and text color, border radius from sharp to fully rounded, an outline toggle, and full-width.
3
Pick a background
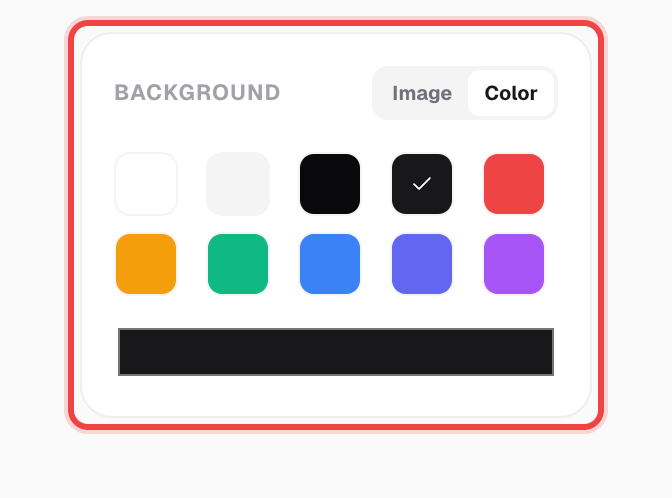
Use the Background button in the builder's top toolbar to switch between a full background image or a solid color.
Good to know
- Everything here can be changed later — reopen the MicroSite from your dashboard and click back into the same builder.
- A watermark, a custom link-preview thumbnail, and a custom domain are separate settings on the MicroSite's config page — see the next article.
- Logo, title, description, CTA styling, and background are free on every plan. The static watermark logo and dynamic watermark need a MicroSite Pro plan.