
Set access control, expiration, and notifications for a MicroSite
MicroSite Config reuses the same gates as a regular link, plus a custom address, view limits, and notifications — all on one settings page.
Open MicroSite Config
From your dashboard, open a MicroSite's settings — or land there automatically right after Save & Configure in the builder.
Set a custom address (optional)
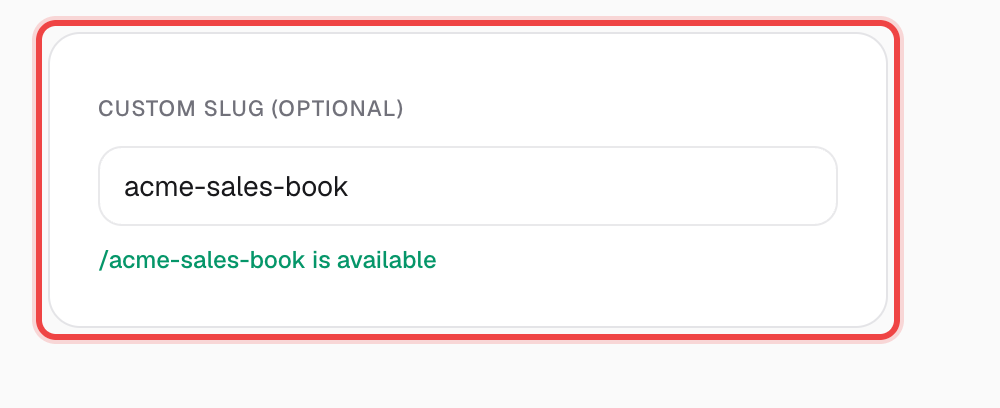
Under Basic Settings, type a Custom Slug. It's checked for availability as you type. Changing the slug on a MicroSite you've already shared breaks the old link for anyone holding it.
Turn on the access controls you need
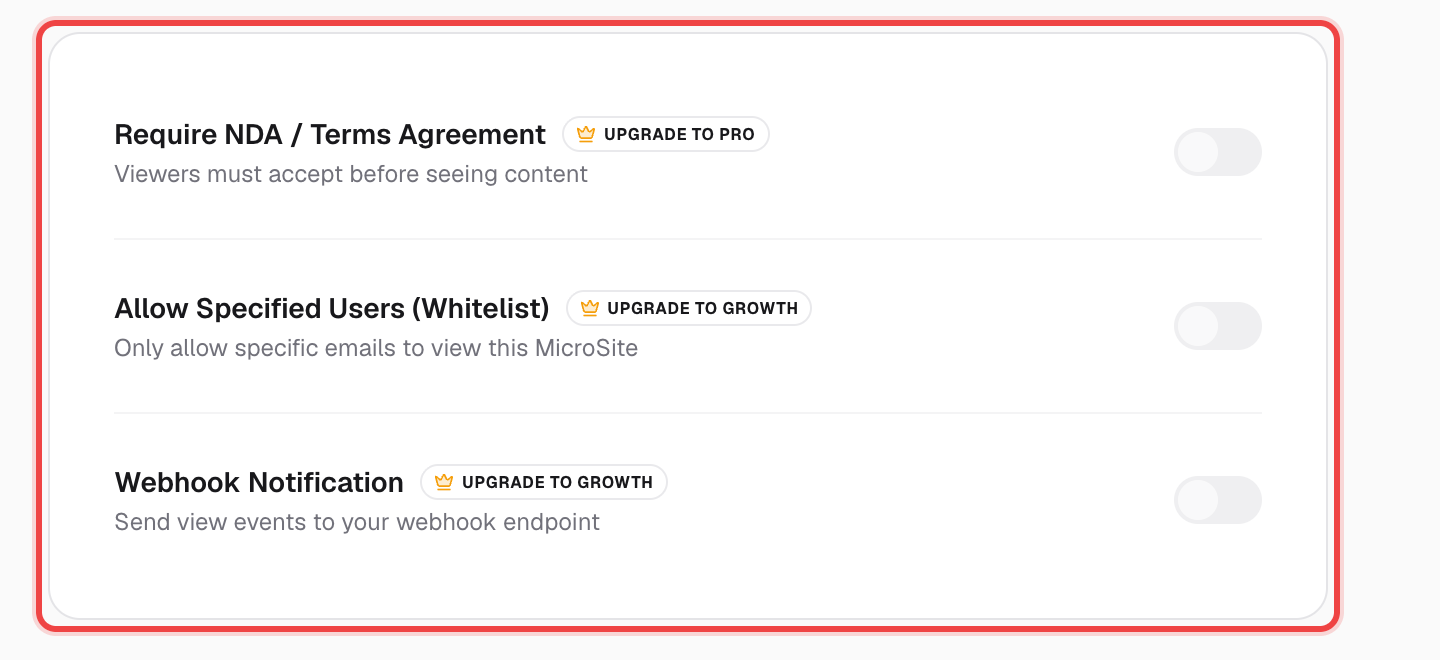
Require Email, Password Protection, Allow Download, and Screenshot Blocker work exactly like they do on a regular link. NDA / Terms Agreement and Allow Specified Users need a paid MicroSite plan, shown with an upgrade badge until then.
Set expiration and view limits
Under Expiration & Limits, add an Expiry Date and/or a Max Views. Leave Max Views blank for unlimited.
Turn on Email Notification
Under Notifications, flip Email Notification to get an email every time someone views the MicroSite. Webhook Notification sends the same events to your own endpoint instead.
Good to know
- Require NDA / Terms Agreement needs MicroSite Pro or higher. Allow Specified Users (Whitelist) and Webhook Notification need MicroSite Growth. Everything else on this page is free.
- The MicroSite plan (Pro / Growth) is a separate subscription from your regular document-link Pro/Business plan — manage it from Pricing → MicroSites.
- Screenshot Blocker only works in desktop browsers; iOS and Android have no web-based way to block a screenshot. Pair it with a dynamic watermark for extra protection.