
Create your first MicroSite
A MicroSite is a branded, multi-file hub you build once and share as a single link — like a mini data room. Here's how to put one together, start to finish.
Start a new MicroSite
From your dashboard, click the Create a microsite card. The Free plan includes 1 MicroSite with up to 5 files; paid MicroSite plans raise both limits.
Name it
Click the bold title at the top of the builder and type a name — it's required before you can save. Add an optional one-line description underneath.
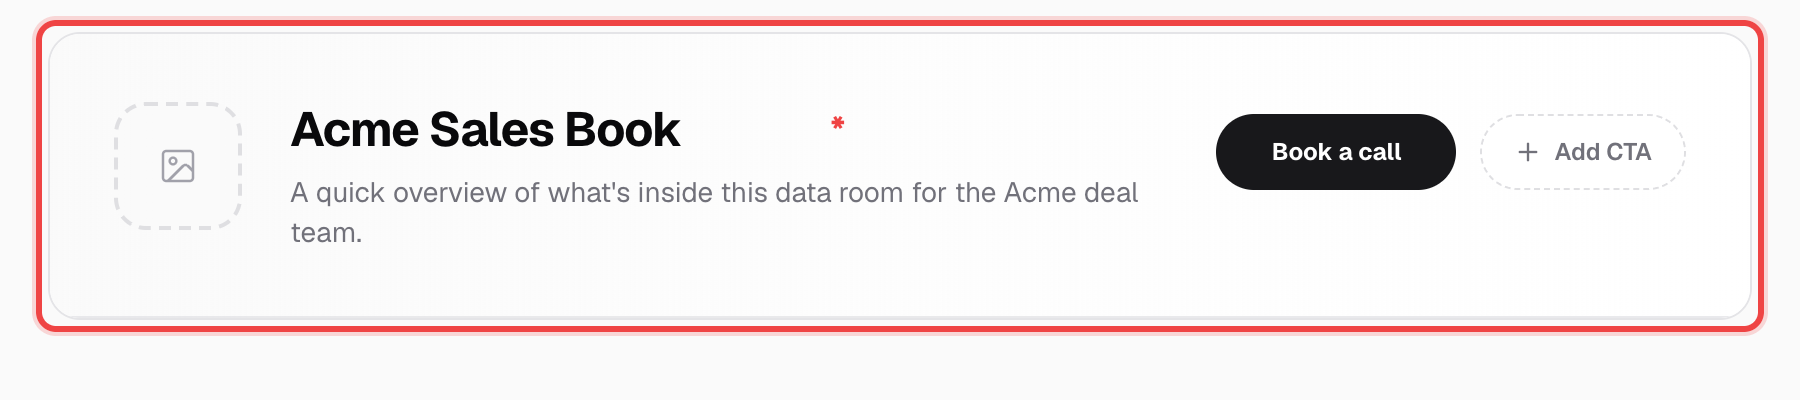
Add your files
Drop files onto the empty builder, or click Add content once you have some. PDF, DOCX, XLS, CSV, images, and MP4 are supported.
Organize with folders and links
Use Create folder to group related files, and Add link to drop in an external URL alongside your documents. Drag the grip handle on the left of any row to reorder it.

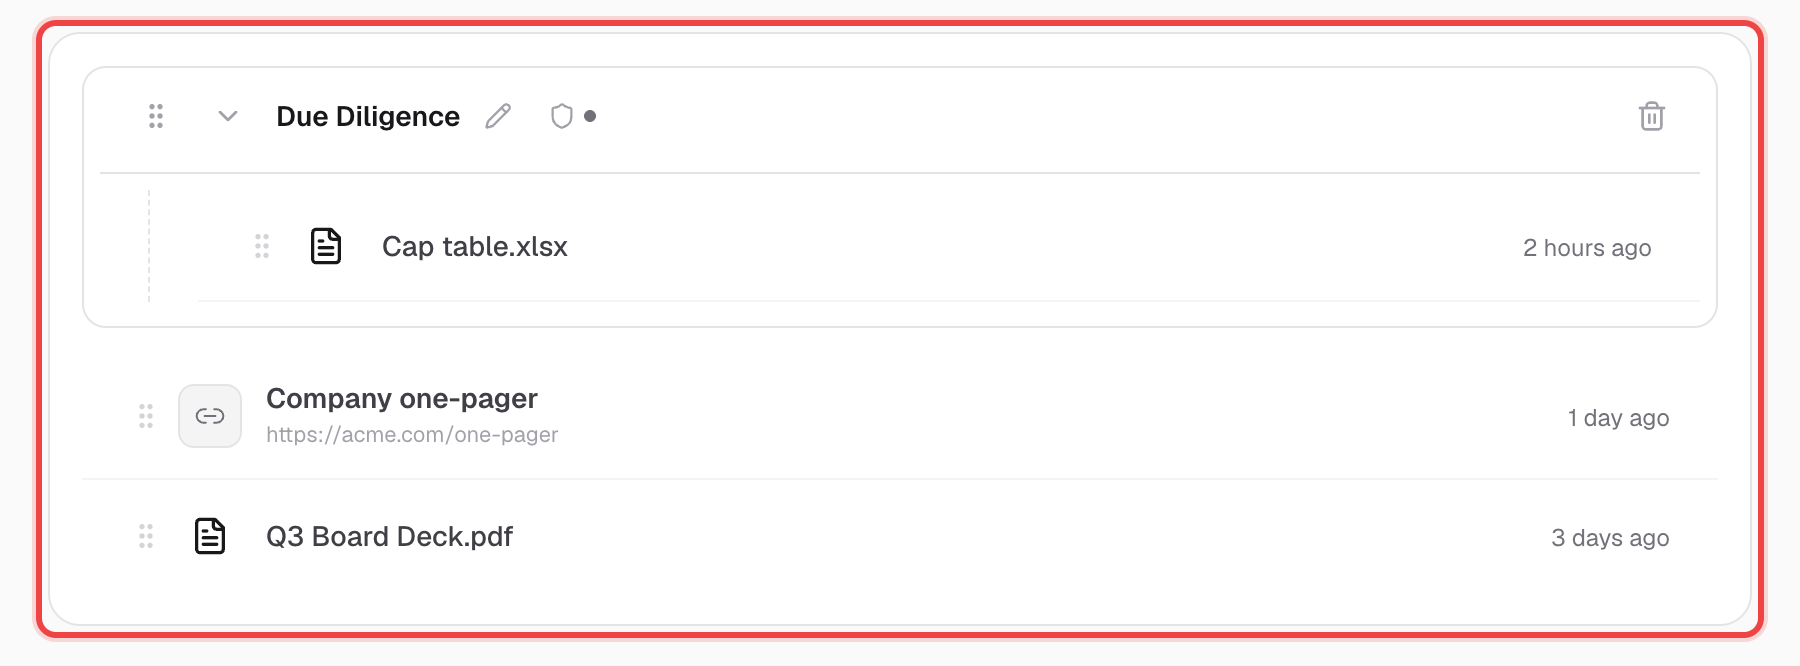
Save & configure
Click Save & Configure once you have a title and at least one file or link. This takes you to the MicroSite's settings to set access control and generate its link.
Good to know
- MicroSites use a single, list-based builder — the older grid ("Bento") layout has been retired. A MicroSite built before this change still opens fine, just laid out as a list now.
- Free users can build and fully customize a MicroSite with no paywall — an upgrade prompt only shows up later, at Save & Generate Link, and only for plan-gated features.
- Files aren't saved as standalone documents in your Dashboard until you save the MicroSite — until then they only exist inside the builder.